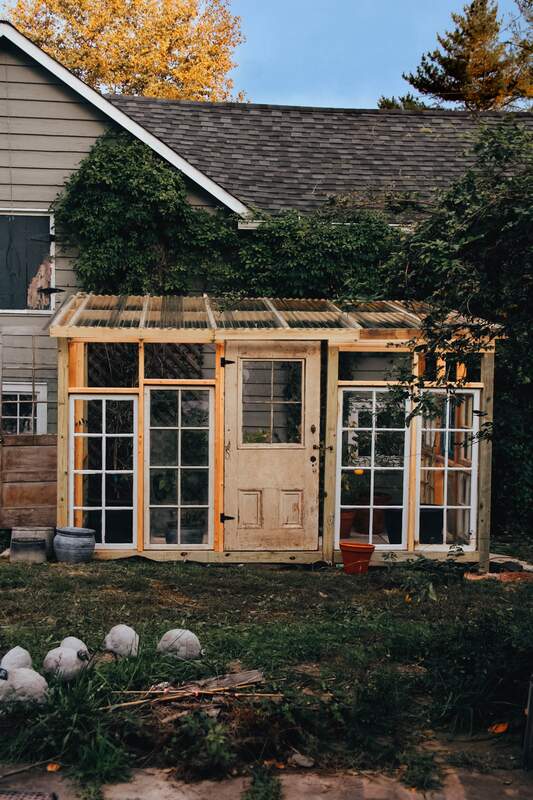
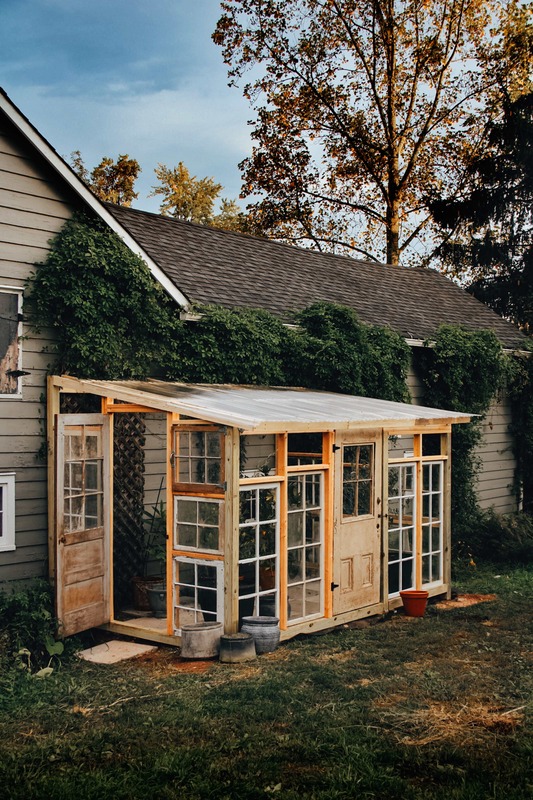
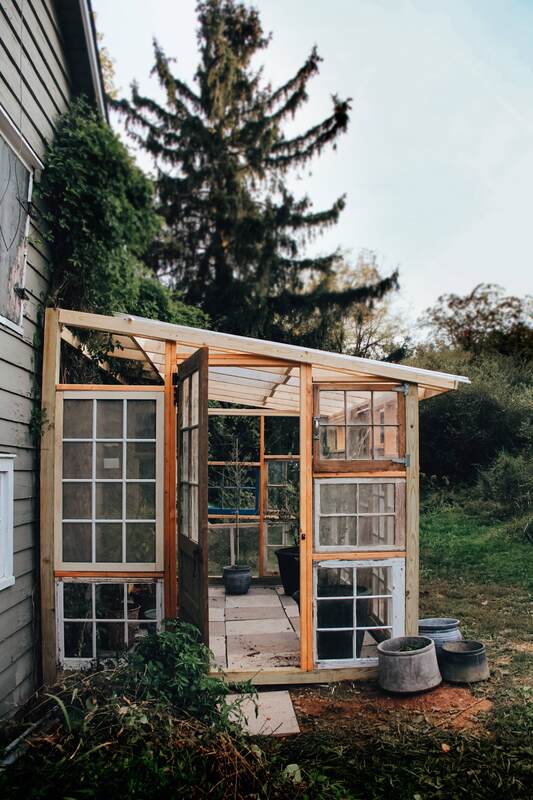
 This new greenhouse has been in my head for a long time. Come spring, I'll be starting and growing the majority of our homegrown produce from this new space--which I'm building 100% on my own. This greenhouse uses old windows and doors from our barn loft and will make the process of growing food so much easier. I am currently lucky enough to have an underground greenhouse with skylights and a sliding glass door. What's better is this is just off of my living room. But I've been using grow lights for 100% of my homegrown food efforts. In an attempt to be as energy efficient as possible, and to reduce hardening off time by as much as 10 days, I'm building this new space which will require only the energy of the sun for heat and lighting. Plus, it's positioned just off the barn which will take advantage of thermal mass from a larger structure and is positioned closer to the garden itself. 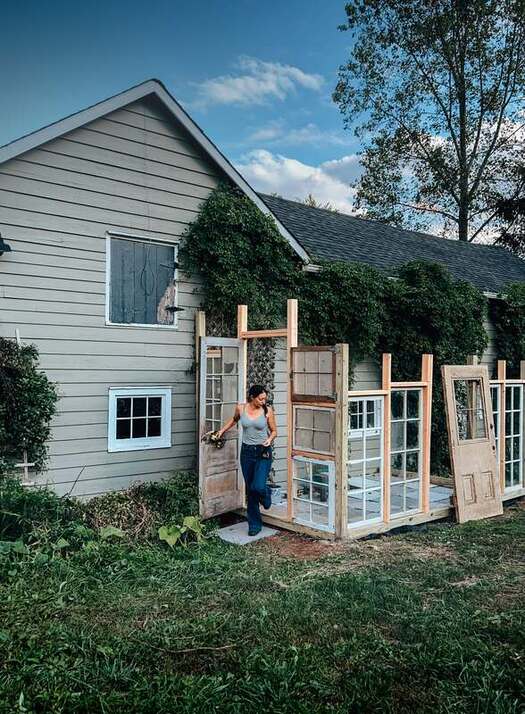 Every single window and door you see here was found in my barn loft left behind by previous homeowners, and only 3 windows came from a free roadside pile. It’s also southwest facing so lots of sunshine here.
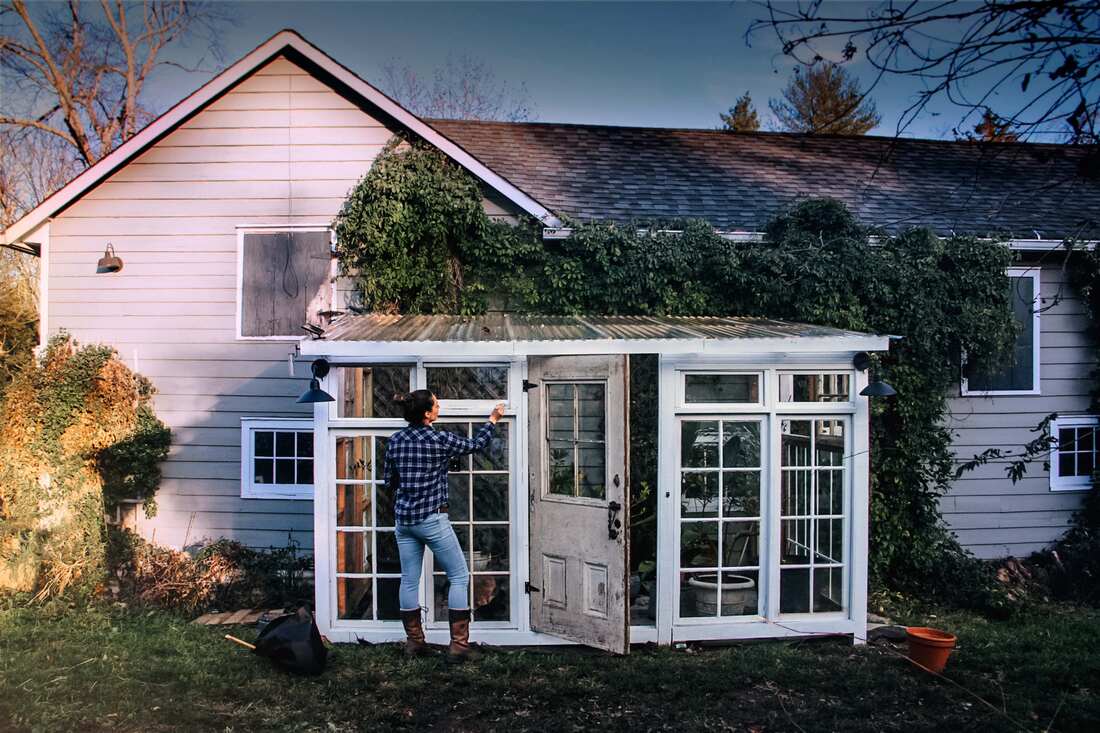
Finishing up the greenhouse has been slow going since I started school again. But I’m finally finished with the outside construction, solar lighting, and exterior white paint. Tonight at dusk I wrapped up the last coat! Next I’ll be painting the interior trim-work black. Why? White on the outside reflects light, black on the inside absorbs heat and better retains it for nighttime temperature consistency. 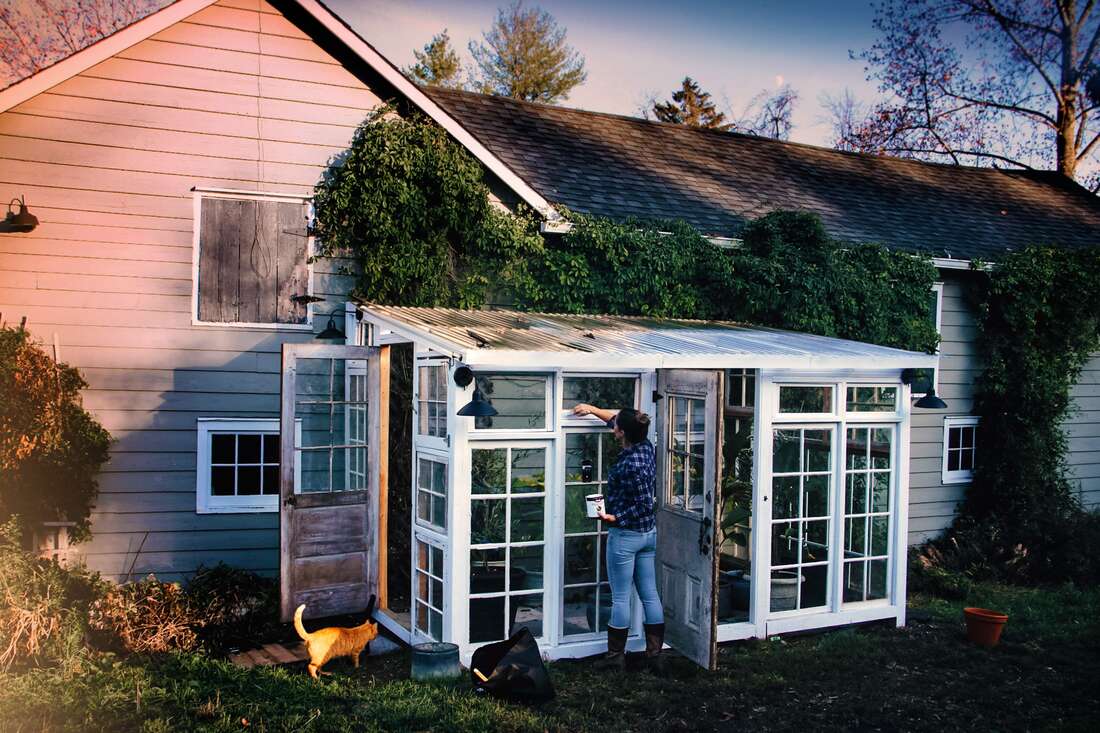 Fall foliar sprays can be used to offer fruiting trees a boost before they go into dormancy. This way the trees can store the added nitrogen, sugars and carbohydrates in their roots where they will be ready and waiting for spring budding and leaf set.
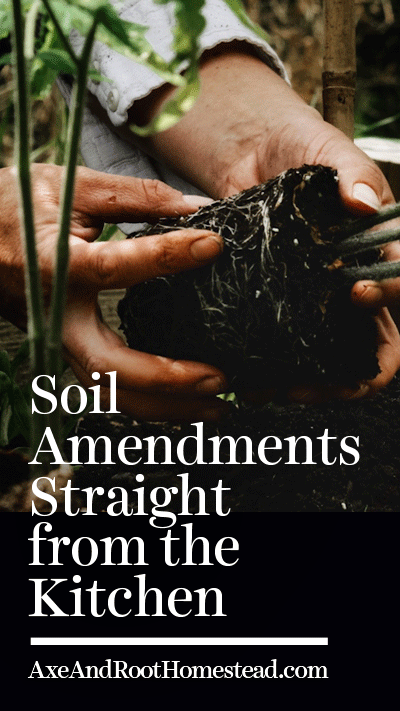
Applying fertilizers, maintaining nutrient rich soil, and installing guilds around trees are all helpful options for feeding orchard stock. But if the tree is unable to absorb the nutrients due to soil issues, damaged roots or disease, leaf sprays are another way to introduce the tree to nutrients and microbes. This recipe belongs to Michael Phillips, author of The Holistic Orchard, so I don’t feel it’s my place to share it. You can check out his website for the recipe.
Yesterday’s video shares the how and why of making compost tea. Let’s talk application and additives. First, repasting the recipe here:
Basic Compost Tea Recipe Materials Needed 1 cup finished compost 1 cup garden soil Tap water (if water is chlorinated, allow to sit for 24 hours) Cheesecloth or unbleached coffee filter and String, optional 5-gallon bucket Aerator, optional Directions Combine the compost and garden soil into a cheesecloth or unbleached coffee filter or add to the bucket. Secure tightly by tying with a string. Submerge the tea bag in a 5-gallon bucket filled with tap water. A water temperature of 68-72 degrees Fahrenheit is ideal. Add any desired additives to the water. If using an aerator, place in the bucket and turn it on. Brew the tea for 24 hours. Dilute to 3 parts tea:1 part water for application. Try to use the tea within 2 hours of brewing to deliver optimal benefits. Optional Compost Tea Recipe Additives Worm Castings (use in place of compost altogether or use half-cup compost, half-cup worm castings in recipe) Worm castings contain more humus than compost or garden soil, enabling more water and nutrient absorption. Also contains active soil microbes and low levels of iron. Unsulphured Blackstrap Molasses (2 Tbsp) Offers a food source for beneficial bacteria, stimulating population growth. Also fortifies tea with iron that won’t burn plants. Liquid Fish Emulsion (1 teaspoon) Liquid fish provides a readily accessible source of nitrogen, phosphorous and potassium. Also stimulates healthy soil structure. Liquid Kelp (1 teaspoon, added after brew is complete) A renewable resource which stimulates chlorophyll production, overall plant growth, photosynthesis, and strong root development. Also assists with nutrient absorption and contains trace amounts of nitrogen, phosphorous, and potassium for plants. Epsom Salt (1 teaspoon) A source of magnesium for plants that assists with flowering and fruit production. Many people are under the impression that compost is a fertilizer. But actually, nitrogen, phosphorus and potassium are bound up in the organic matter. While it does release these nutrients slowly over time, studies show the initial nutrient content of finished compost isn’t that impressive. To turn all those nutrients into a from that plants can readily absorb, we can create compost tea. This gives plants nitrogen, phosphorus and potassium AND microbes, mycorrhiza, protozoa, and all the good bacteria that make amazing soil and good plants, sooner rather than later.
1️⃣ In part one, let me show you a base recipe. 2️⃣Tomorrow we’ll discuss application and additives, in part two. Basic Compost Tea Recipe Materials Needed 1 cup finished compost 1 cup garden soil Tap water (if water is chlorinated, allow to sit for 24 hours) Cheesecloth or unbleached coffee filter and String, optional 5-gallon bucket Aerator, optional Directions Combine the compost and garden soil into a cheesecloth or unbleached coffee filter or add to the bucket. Secure tightly by tying with a string. Submerge the tea bag in a 5-gallon bucket filled with tap water. A water temperature of 68-72 degrees Fahrenheit is ideal. Add any desired additives to the water. If using an aerator, place in the bucket and turn it on. Brew the tea for 24 hours. Dilute to 3 parts tea:1 part water for application. 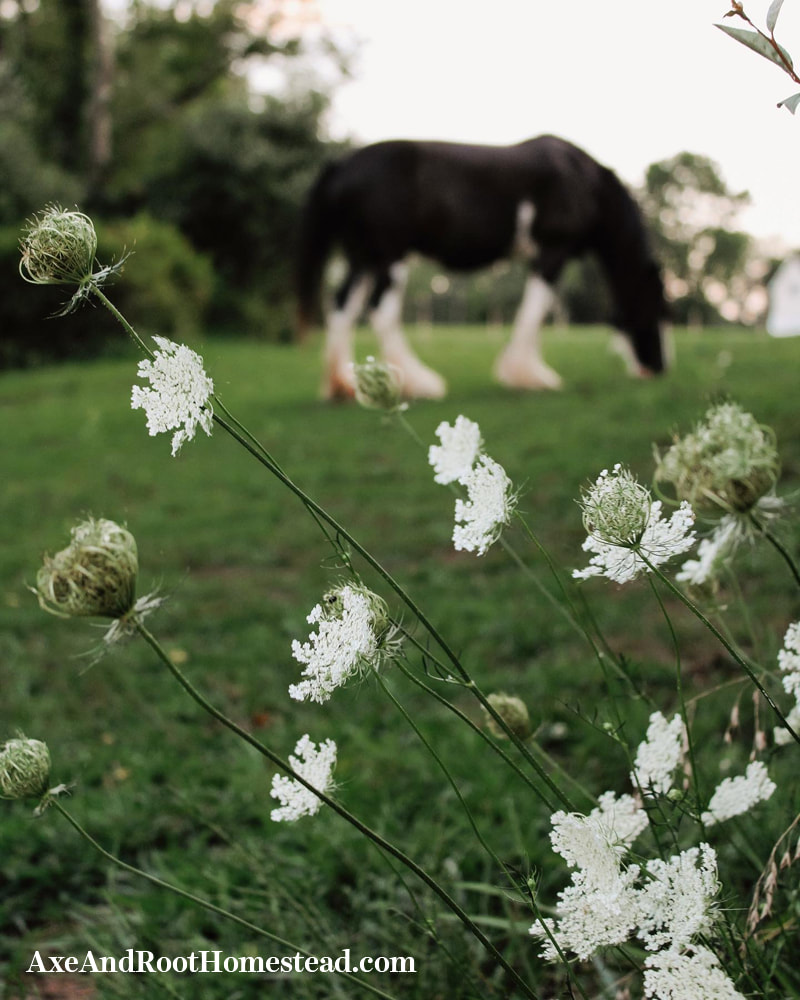 As we gear up for planting season many folks turn to soil testing before making amendments. Totally smart. But did you know your weeds tell a story about soil health too? If you see dandelions, violets, Queen Anne’s Lace, and yarrow (to name a few) year after year, know that Mother Nature is an opportunist and trying to tell you something. We can use these clues to improve grazing and growing spaces.
Dandelion Often a symptom of soil compaction as nature sends this weed with a long taproot to break it up. Could also be a sign of calcium or potassium deficiencies. Wild Violet Indicates poor drainage as prefers shady, moist soils. Onion Grass Loves acidic soils which lack organic matter. Best to amend with compost! Queen Anne’s Lace Indicates poor, dry soil. Look into cover cropping! Yarrow Prefers poor, sandy soil without moisture. Creeping Charlie May mean a lack of organic matter, nitrogen and/or beneficial bacteria within the soil. Also indicates high levels of calcium and iron. Dock Prefers bare, acidic soil with poor drainage. Be sure to remove before it goes to seed. The seeds can survive their deposit for up to 50 years! If you like these tips, you’ll find so many more weed meanings and permaculture tips in my upcoming book The Sustainable Homestead (spring 2023). I used my kids’ craft supplies and a few toy trees to illustrate a permaculture planting method. Creating sustainable systems like this combine perennials and annuals to create space for beneficial insects, birds, and wildlife to live. We can hold water and retain moisture. We can reduce pest pressure this way while maximizing our real estate for harvests. Grow up, not out.
In this demonstration, I start by showing a conventionally planted plot of strawberries. But how can we maximize this space to increase yields, retain water and relieve pressure from pests naturally? We start by building swales or raised planting mounds from stones and other organic matter. From there we top off our mounds with soil. Next we create a water catchment system such as a fresh rainwater pond and start adding our overstory trees. In this case, I've chosen chestnuts. Next we plant midstory trees (smaller fruiting trees) and then introduce strawberries as our groundcover. Other understory crops that thrive with strawberries (such as asparagus, broccoli, cauliflower, cabbage, kale, lettuce, tomato, peppers and herbs) are interplanted. Bushes such as gooseberries, elderberries and canberries are wonderful choices too. By growing vertically and interplanting companion crops, we have created food forest.  Come planting season, it can be hard to keep track of when to start which crops indoors, when to sow others directly into the garden, and when it's safe to transplant those freshly hardened off crops to their permanent new homes. I have found that organizing crops into a list categorized by their relevance to the last date of frost is a big help. This way, I know exactly what needs to be done each week leading up to the warmer months. I created a download of this journal page from my own gardening notebook. But I understand my style (and handwriting) might not work for some. So I've also created a companion to this sheet which is a simplified, fill-in-the-blank worksheet for your use also. 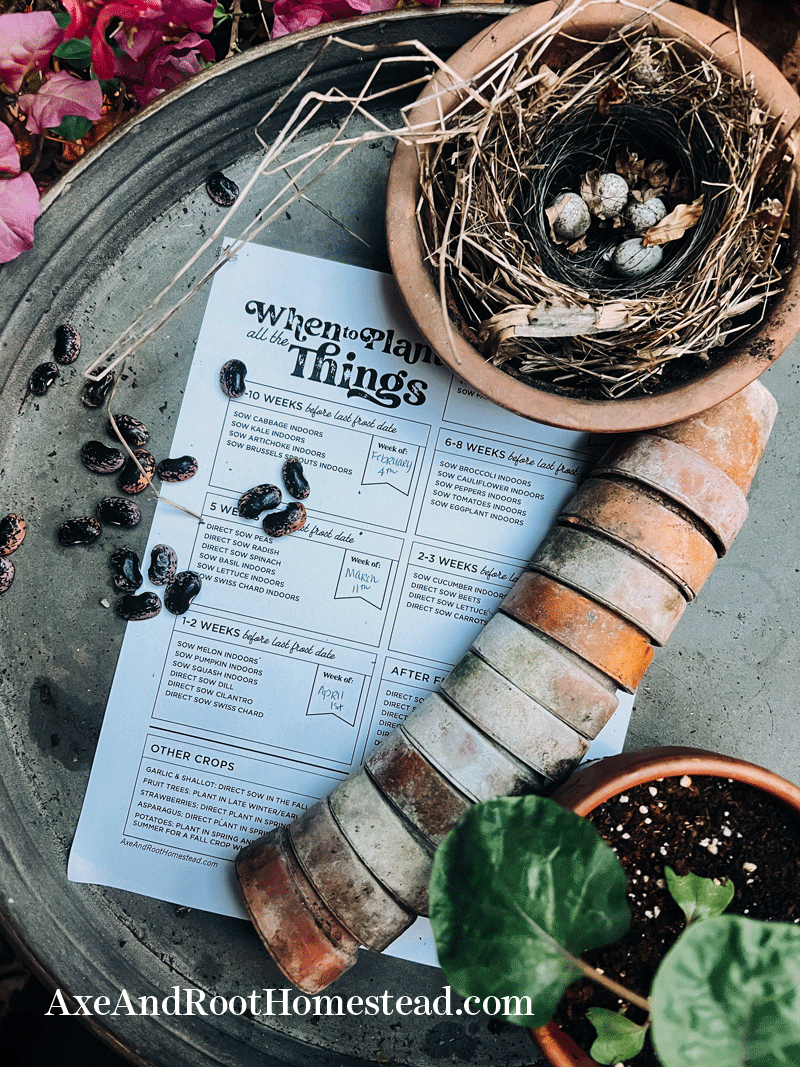 To use this download, you will need to know the last date of frost in your location. You can use the USDA's Plant Hardiness Zone Map to find your date here. From there simply fill in the blanks for the date of each week. Also included are common crops that don't require seed starting but rather transplanting. Guidelines for planting/transplanting fruit trees, strawberries, asparagus and more is also included.
This guide is a free downloadable PDF of two sheets. No physical item will be mailed to you. And it's completely free. Happy planting! Download here. 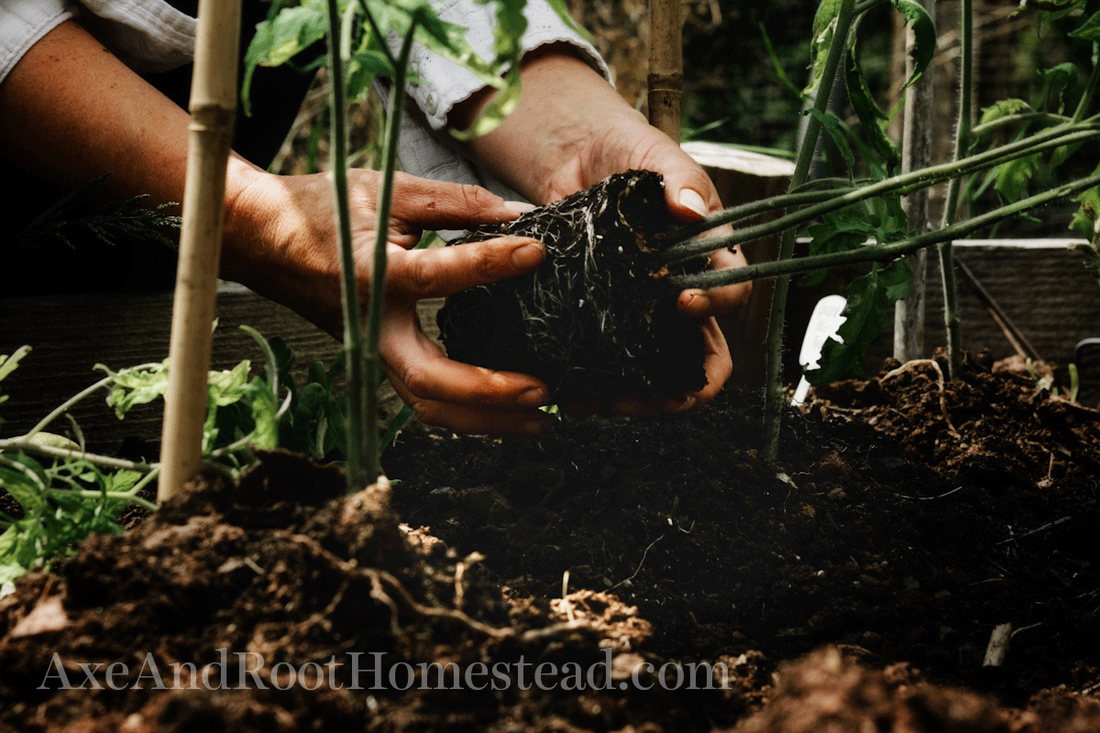 Most of us will be prepping our soil for spring planting soon. There are lots of ways to improve soil quality and health other than just using compost and conventional fertilizers. Here's a list of items you may already have around your home. Coffee Grounds
Epsom salt
Egg shells
Leftover Wine or Beer
Banana peels
Coconut Water
White Vinegar
Blackstrap Molasses
Sourdough Starter
 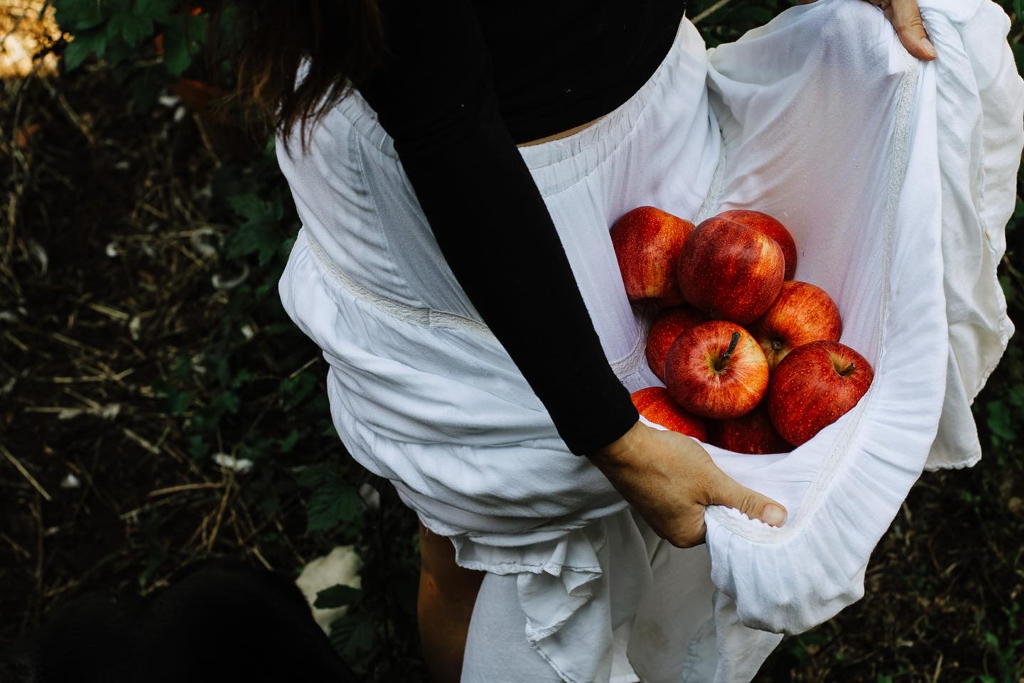 Imagine planting a seed once and being able to harvest food from that plant for years. Wouldn't that be nice? We often think about gardening in terms of annuals; corn, tomatoes, peppers, etc. Things we plant once, harvest and then have to plant again. But when thinking about permaculture and holistic homesteading, it's pivotal to start thinking in terms of perennials; plants that return year after year. Here's the perks: - Less work - Better for the soil as nutrients are pulled deeper and larger root systems loosen the earth - Better for the environment as more carbon dioxide is absorbed and held within woody plant matter - Better for natural insect control as birds and other predators of "bad bugs" have a permanent place to build their homes Instead of thinking short term, I had to retrain my brain to think of growing food as long term. Here's a short list of common plants we consume in North America. These will all come back EVERY. SINGLE. YEAR. Will you be incorporating any of these into your growing spaces this season? Almonds Apples Apricots Artichokes Asparagus Blackberries Blueberries Cherries Chestnuts Chives Collard Greens Cranberries Elderberries Grapes Grapefruit Goji Berries Gooseberries Hazlenuts Horseradish Jerusalem Artichokes Kale Kiwi Lemons Lemonbalm Lemongrass Limes Loganberries Lovage Mango Mint Mulberries Nectarines Olives Oranges Oregano Peaches Pears Pecans Persimmon Pomegranate Plum Quince Radicchio Ramps (Wild Leeks) Raspberries Rhubarb Sage Sorrel Strawberries Thyme Walnuts Wine Berries This list does not include self seeding crops we may think of that come back every year such as chamomile, arugula, etc. 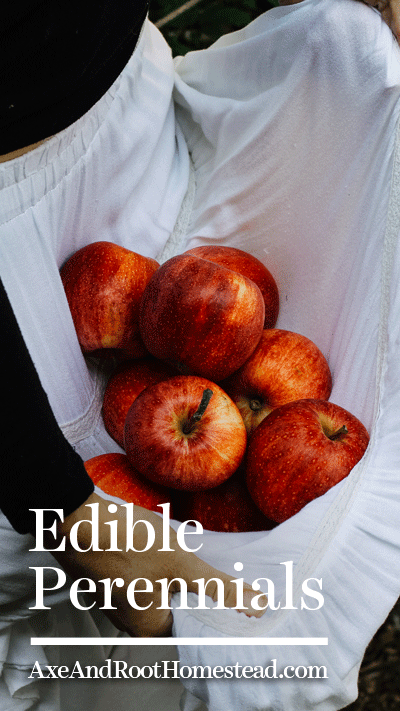 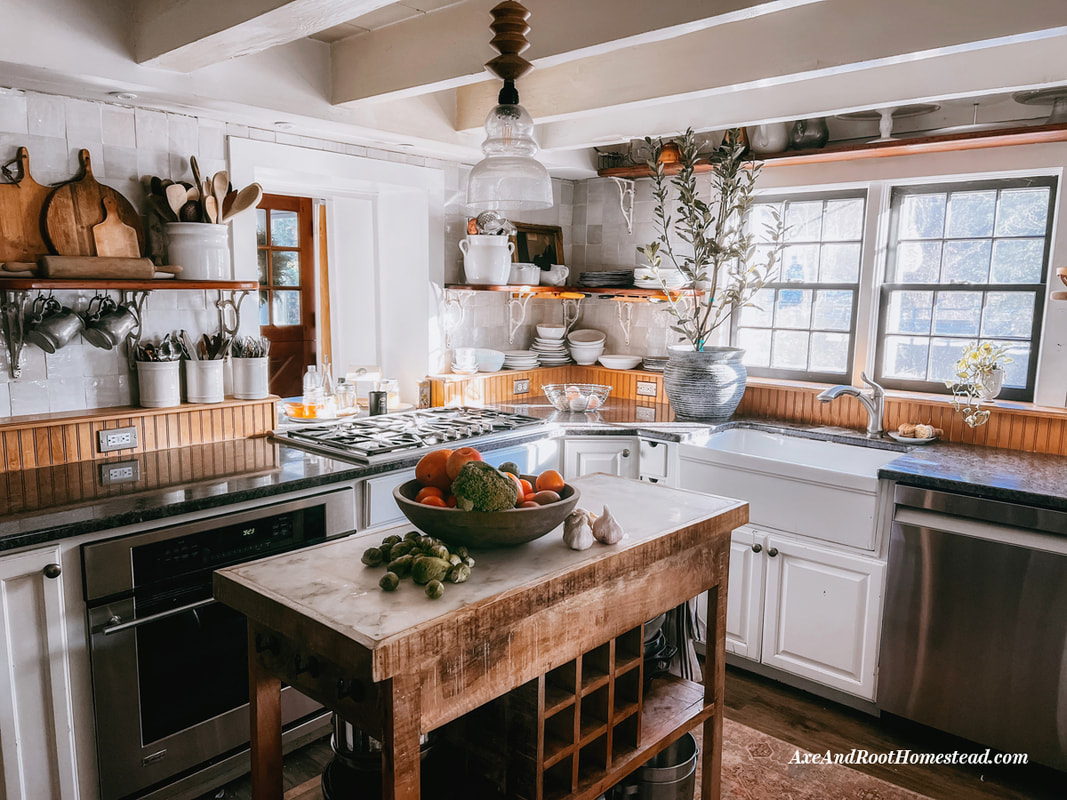 We hear about “eating seasonally” all the time but what does that really mean? So many of us have had the luxury of relying on grocery stores for our food that we have no idea about what crops are native to specific times of the year (greenhouse and large-scale industrial grow houses aside)… at least I didn’t before I started gardening and homesteading. Why eat seasonally? Fresh, seasonal food is loaded with more nutrients per bite (and tastes better too). Plus our bodies require more or less of different nutrients by season which those seasonally available produce items helps to fulfill. Out of season strawberries, for example, have to be harvested before their prime—or before they even ripen, for that matter!—to be shipped and distributed elsewhere. They lack the flavor and nutritional content of in-season, local strawberries. Do I buy avocados at the grocery store? Yes I do. Do my children like to include bananas in their homemade lunches? Yep. Neither of which are local nor in-season to me. But the majority of the fruit and veg in my diet comes from homegrown, freshly harvested, frozen, canned or stored homegrown produce. It’s about setting realistic goals rather than giving into the criticism of nay-sayers and not trying at all. So with that, here’s an abbreviated list of common items in season NOW. 👉🏼If you’re interested in looking up your area specifically, there’s a great resource called SeasonalFoodGuide.org. Simply plug in your state and it’ll tell you what’s available for any given month of the year. ❄️WINTER❄️ Apples Beets Broccoli Cauliflower Celery Brussels Sprouts Cabbage Carrots Grapefruit Kale Leafy Greens Lemons Limes Oranges Potatoes Swiss Chard Turnips Radishes Winter squash (butternut, spaghetti, etc)  |
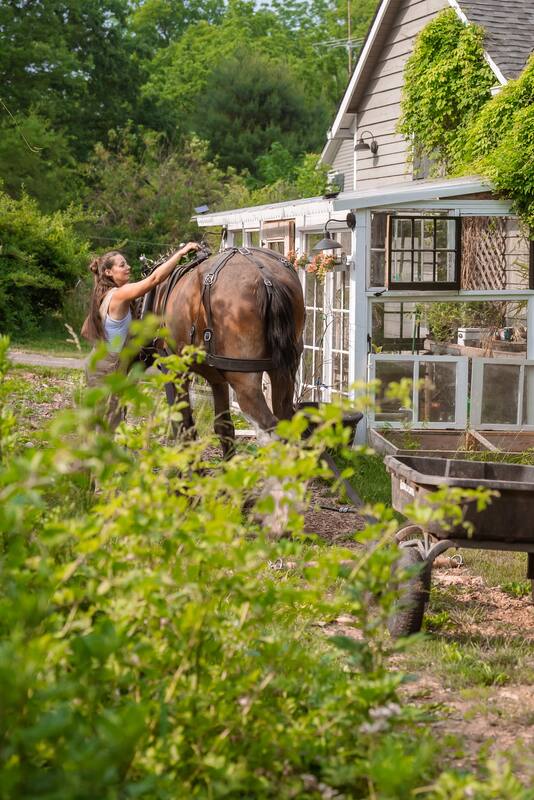
Angela is the farmer and content creator behind Axe & Root Homestead® LLC. This historic six-acre permaculture farm is home to two Clydesdale horses, ten honeybee hives, five sheep, two guardian dogs, barn cats and a flock of 40 geese and ducks. The farm produces maple syrup, fruit from a small orchard and loads of garden produce for consumption, preservation and donation to the local food pantry.
The Sustainable Homestead is available NOW!
Categories
All
|