 I grow lots of blossoms alongside my food crops. Rather than segregate food and flowers, they’re woven together. I use herbs and flowers often as companions interplanted with my food (you can find many posts in the "permaculture" and "growing" categories based on companion plant benefits and specifics). But in this post, I wanted to talk about my approach or method of gardening which is my "layered permaculture garden method." I call it a layering method because I sow calendula, for example, in the spring alongside veggies. As the first layer of veggies reach maturity, the second layer (the calendula) is still small but supporting the food crops. By the time spring veggies are spent and done, the second layer of flowers reaches full height. The second layer shrouds any gaps from the first layer, protecting the soil. This means I often plant veggies and herbs first and wait a week or two before adding in some flower varieties to fill gaps in the spring. This ensures the growth rate of the flowers doesn’t crowd out and suppress food crops.   As for layering a third and fourth planting, I absolutely do this come mid-summer. When I'm ready to plant for fall harvests in mid-July through August, crops like beets, carrots, fennel, greens, kale, broccoli, and other brassicas are inserted amongst the flowers. The permaculture benefit of planting seedlings this way is huge. Often the scent of many flowering herbs like oregano, lavender, nasturtium, basil, etc., is enough to deter cabbage moths and other pests. Conversely, beneficial insects are attracted to the blooms surrounding the crops, which increases pollination of veggie blossoms. Parasitic wasps are drawn to the garden and prey on any "bad bugs" loitering within. This leaves my new veggies protected while they grow. Cold loving flowers like calendula can be seeded as a fourth layer a few weeks after the third layer is planted.
As for the flowers that I choose, I go for self-seeding annuals for less work, like nigella, borage, chamomile and calendula. I heavily use perennials like lavender, non-invasive tansy, sterile comfrey, verbascum, speedwell, coneflower, foxglove, daisies, yarrow, rudbeckia, anemone, and roses to name a few. The benefits of perennials are many to the overall homestead ecosystem including increased carbon absorption by way of their woody plant tissues, their deep root networks which increase soil fertility, the fact that you don't have to replant them each year, the concept of them coming back and bigger and more full each season, and the many uses most of these perennials provide from edible rose petals to medicinal yarrow.  Let’s talk about another permaculture powerhouse plant that’s actually in the same family as comfrey. It’s borage and, hopefully, after reading below, you’ll add it to your growing space too. :)
There are said to be loads of medicinal benefits of BORAGE. If you’re into the home apothecary, this may help an excellent plant to research.   When looking for companion plants for my vegetable growing spaces or for my fruit tree guilds, I always look first to plants that have stacked functions. Multipurpose plants can bring more than one benefit to a growing space. Common permaculture plants favored for their multiple benefits include Sunchokes (aka Jerusalem Artichokes), Comfrey, and Elderberry. Another incredible companion, which I turn to often, is Yarrow. Common Yarrow is prevalent throughout the six-acres of my farm. I've allowed wild clusters to accumulate in my food forests, have split and planted them in my guilds, and have started bringing in various colors for visual diversity. But it's not just the aesthetics that are pleasing--yarrow is loaded with function for any growing space:
This incredible plant is native to much of the United States which means it's likely already hardy and well-adapted to your microclimate, serves the local ecosystem, and will not displace nor eradicate local plantings. Elderberry is literally one of the most useful plants on the homestead. The flowers, berries, plant tissue, and root systems all have functions. And even better yet--it's incredibly easy to propagate. I planted my first elderberry about seven years ago in a bad location before I realized how large and how quickly these plants grow. Now, I use it for cuttings and propagation for other portions of the property. I personally use the berries for dehydrating and making homemade elderberry syrup, but I also am working on creating privacy hedges and windbreaks from these strong and hardy plants.
To make a cutting, be sure to cut new shoots at the base of the soil line. All cuts should be 45-degree angles and each section should host lots of nodes or future root buds. From there, the cuttings can be stored in water to promote root growth, potted in seedling containers until you're ready to place them in their permanent homes, or planted right in the ground at their forever location. No rooting hormone is required. Be sure to plant the elderberry cuttings at a minimum of 2" deep for best root network development. Elderberries love compost and water. They also prefer a partial- to full-sun location. It's worth mentioning here again that more than one variety of elderberry is not required, but certainly is helpful in increasing your yields. Pruning young fruit trees too much can cause over pruning damage and even death. Too little can cause branch wounds from rubbing, invite pests and disease, and decrease sunlight… which affects fruit! In this demo I'm sharing:
1. my rule for low branch trimming 2. what to remove 3. how to deal with bag worms the permaculture way 4. covering what is black knot fungus 5. removing suckers 6. how to trim a fruiting shrub back to a tree This video is just a basic overview for young fruiting trees. If you're looking for tips on fruit tree shaping, I've got a video on that here!
Need to learn seed catalog jargon? I’ve got you covered. I’m explaining determinate, indeterminate, open-pollinated, hybrid, heirloom, and non-GMO. There’s plenty of other terms… like crown, rhizome, tubers, bulbs, bare root, etc. We’ll do a part two. Happy seed shopping!
Determinate variety: A crop that grows to a determined size. Indeterminate variety: The crop will continue to grow in height indefinitely or until the end of the season. Heirloom: Seeds that are true to their parent and have been passed down through generations with minimal (aka only naturally occurring) modification. These crops are well established and seeds can be saved and replanted. Hybrid: Crop seeds that are the result of crossing two or more parent crops to achieve specific desired traits like yield, pest resistance, larger produce, etc. This can be done in the field or in a lab. Seeds from these crops can be saved but will not likely reproduce true to their parent. F1 Hybrid: Crop seeds that are the first of their generation, achieved by crossing one or more parent plants of varying types or species, in a lab setting, often accompanied by genetic modifications (GMO). Seeds from these crops can not be saved and replanted. Open Pollinated: Seeds that are from a parent plant which was not necessarily segregated from other varieties and was pollinated by natural means such as from insects, wind, traffic, etc. There’s more potential for cross-pollination here. Seeds can be saved and replanted but variable offspring is likely. Organic: Seeds that come from crops where no (or very low levels that still meet organic certification criteria) chemicals, pesticides, or herbicides were used.
Some plant species require a cold period in order for their seeds to germinate and/or successfully thrive. The seed utilizes the cold to break down the seed coating. In other cases, the seeds germinate with warmth and moisture, but some prefer to sit out in the cold as their seedlings develop. Most of the time, details on cold stratification requirements for specific plant species can be found on the back so seed packets.
You can sow cold loving seeds outdoors in trays under protection from heavy rain, snow and wind like under a covered porch or in an unheated garage. You can also mimic nature's cold temperatures by placing seeds in a container in the refrigerator as shown in the video. Here’s several examples of plants that require cold (typically around 40 degrees Fahrenheit and under) in order to get established: Fruit and Vegetables Strawberry, Artichokes, Crabapple, Cilantro, Goji, Hops, Mulberries, Quince, Apple, Ramps, Flowers and Shrubs Dogwood, Southern Magnolia, Delphinium, Columbine, Clematis, Monkshood, Lady’s Mantle, Butterfly Bush, Sunflower Geranium (perennial), Lavender, Hibiscus, Heuchera, Rudbeckia, Sedum, Viola, Pincushion flower, Globeflower, Autumn Olive, Bachelors Buttons, Milkweed, Heather, Hollyhocks, Lupine, Osage Orange, Perennial sunflowers, Rose Herbs Arnica, Anise Hyssop, Bergamot, Black Cohosh, Chamomile, Chives, Elderberry, Echinacea, False indigo, Ginseng, Lemon Balm, Licorice, Lavender, Marshmallow, Mullein, Oregano 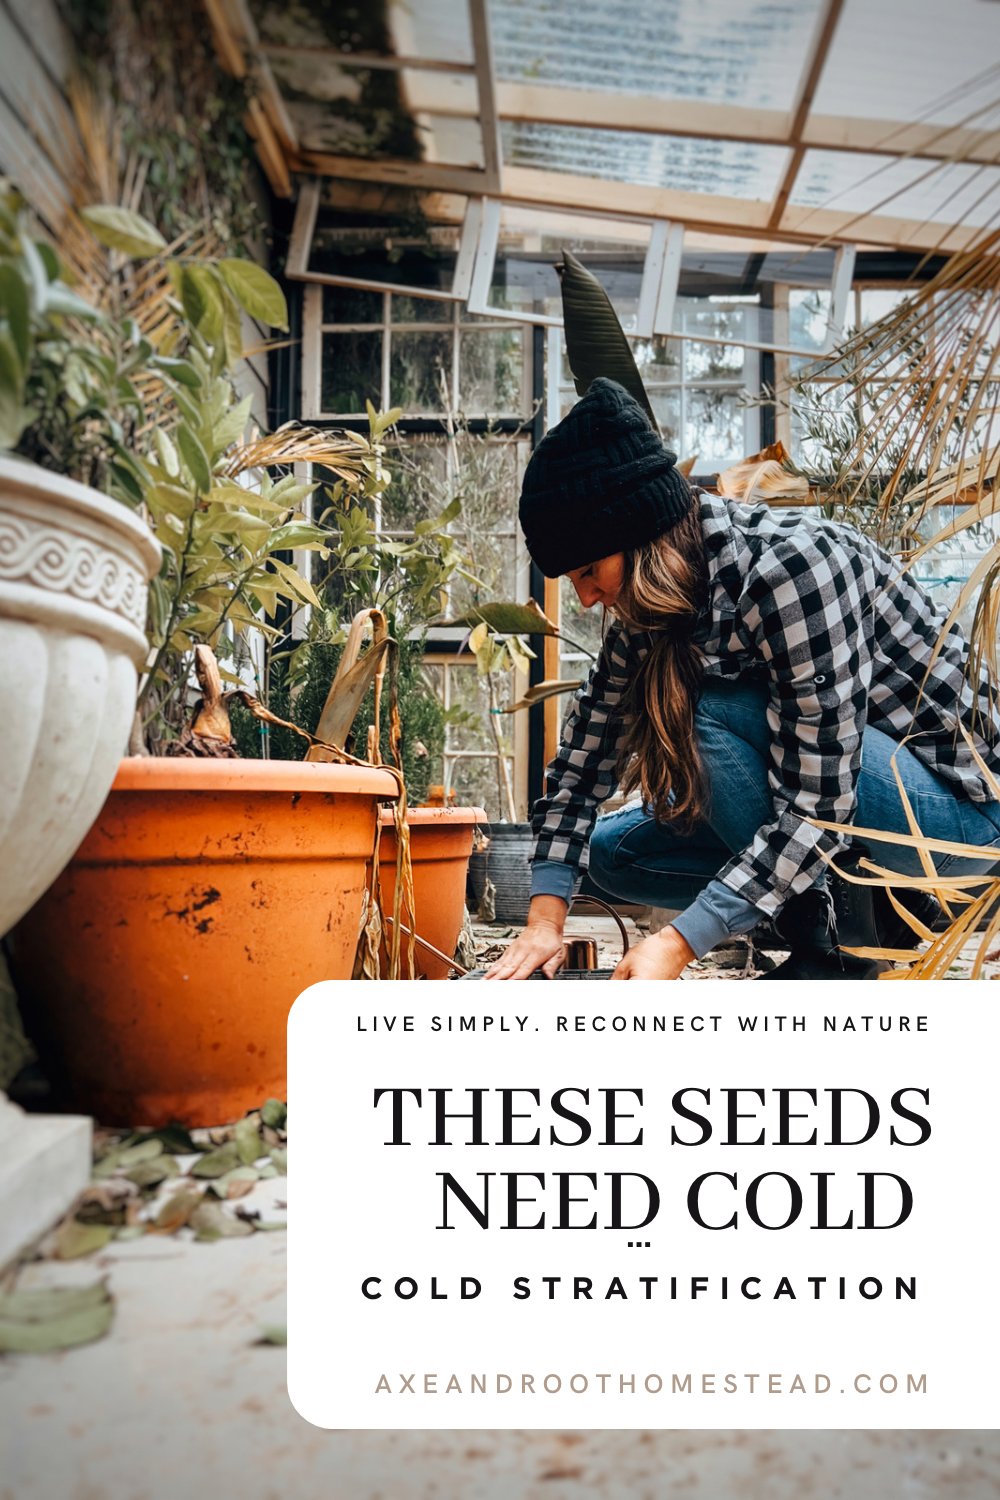
Time Stamps: 0:25 My greenhouse goals / 0:43 Managing olives and citrus in the winter / 1:45 Tour of plants / 3:43 Insulating the greenhouse / 4:50 4 Ways to Heat Your Greenhouse Four ways to heat your greenhouse this winter season: 1. Greenhouse Grade Plastic I wrapped my entire greenhouse with hoophouse plastic to keep drafts away and hold heat within the structure. I literally wrapped the entire house with the plastic and affixed with a staple gun. I found mine here: Happybuy Greenhouse Film 15 x 40 2. Heater A heater is an obvious choice, especially on extremely cold days, however it quickly drains energy. If the greenhouse isn’t properly sealed or has drafts, any heat generated by the heater will rise and escape. Improperly attached extension cords can cause a fire. 3. Thermal Mass from Water Drums Large 50-gallon drums can be filled with water. Water loses heat more slowly than air. If plants are crowded around the drums, they will benefit from the atmospheric heat provided by the drum. In the spring, water from the drum can be used to water plants. 4. Reflective Insulation Board If you have a wall to spare, or can sacrifice the north side of your greenhouse, a large sheet of reflective insulation can be helpful. The insulation maintains heat within the greenhouse, while the mirror-like surface of the board captures and reflects light and heat from the sun back into the greenhouse. Other options include a composting floor, and erecting your greenhouse on the side of your home to take advantage of heat. Straw bales can form a perimeter at the base of the greenhouse, but just remember heat rises—if the roofline is not sealed, heat will escape. Finally, I paint my greenhouse interior black to attract the sun’s rays and hold heat.  
Did you know that the peak production time for one strawberry plant is 1-3 years? After three seasons, productivity declines. This is why nature sends daughters, or duplicate plants of the mother, outward on shoots. These shoots are called runners. I take advantage of this system by letting my strawberries reproduce in place. But when healthy plants start spilling into walkways, I transplant these free plants to new beds and growing guilds. It’s so incredibly easy and fall is a great time to split.
Strawberry plants are incredible weed suppressors. When planted densely like in my blueberry and valerian guild in the first video, they remove the task of weeding, keep the soil cool, and help maintain moisture, all while providing fruit. And because folks always share their issues about pests taking their berries, I cage mine from birds with hardware cloth or netting when in production. A motion activated sprinkler does wonders too.
This year I installed a Mediterranean guild home to olives, artichokes, rosemary, lavender and thyme. While I chose varieties most suitable to my climate, I’ve researched artichoke winter care and here’s what I’m installing. We are getting our first freeze this evening (these plants have successfully withstood frosts already) so it’s time to hibernate these artichokes for the season.
I start by tying the leaves of the artichoke plant together in a bundle. This protects the crown. After tying, I cut the leaves off just above the string or twine. The remaining standing bundle is roughly 6-8" in height. I choose to mulch the surrounding soil and other guild members with the trimmed artichoke leaves. I also add chopped comfrey leaves as a green manure at this time along with fallen maple, oak, or other dried leaves from around the farm. An upside pot is affixed on the artichoke bundle for protection from the elements. To secure the pot in place over the winter months, I top the pot with a rock. Bedding or mulch can be added around the base of the pot to make sure gaps are filled in where the pot makes contact with the soil. Imperial Artichokes can withstand frosts so once winter temperatures begin to ease and we head back into the spring season, I'll be removing the protective pot. From there the bundles will be untied and new growth will be allowed to emerge. |
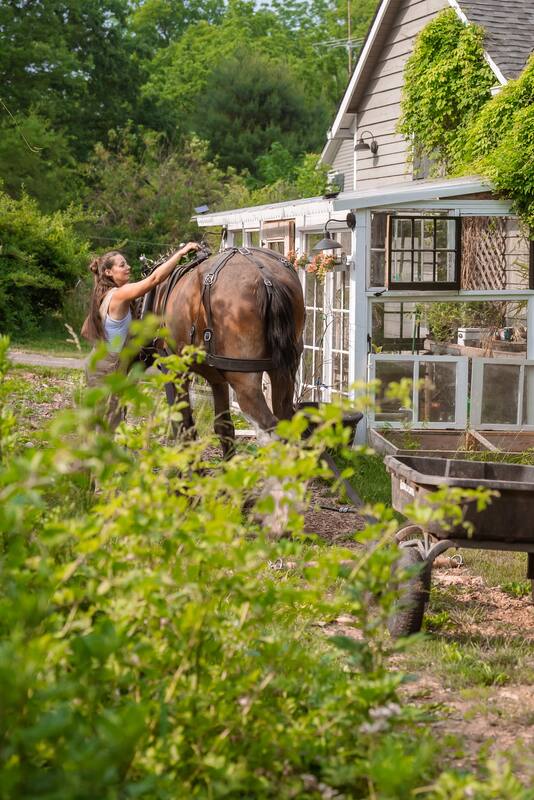
Angela is the farmer and content creator behind Axe & Root Homestead® LLC. This historic six-acre permaculture farm is home to two Clydesdale horses, ten honeybee hives, five sheep, two guardian dogs, barn cats and a flock of 40 geese and ducks. The farm produces maple syrup, fruit from a small orchard and loads of garden produce for consumption, preservation and donation to the local food pantry.
The Sustainable Homestead is available NOW!
Categories
All
|

