This is the recipe I use every year. You can add cinnamon or anise if desired! 🍎🍏
INGREDIENTS 8 pounds of apples, peeled and cored 1 cup water 1/2 tablespoon bottled lemon juice per pint jar DIRECTIONS Prepare a water bath canner on the stove and bring to a boil. Sanitize and warm pint-sized mason jars. Roughly dice apples and place in a large stockpot. Add the water and bring the pot to a boil. Reduce to a simmer and cook, covered, until apples are soft (about 7-10 minutes). Mash the soft apples with a potato masher. Add more water if desired for a thinner applesauce. You can also puree with an immersion blender for a smoother consistency. Allow to simmer 5 minutes more. Add lemon juice to each jar. Funnel the hot applesauce into warmed jars, leaving 1/2” headspace. Wipe the jar rims clean, and seal the jars finger tight. Place the filled jars into the boiling water bath canner. Process for 20 minutes until jars are sealed. Remove the jars from heat and place on a towel on the countertop. Allow to fully cool before storing. Press each lid to make sure it does not fluctuate and a good seal has been achieved. Consume within one year. I hate buying vegetable broth or stock. I find most store-bought versions contain bell peppers which, to me, overpowers the taste of my recipes. I end up with bell pepper-flavored soups, etc. and I can't stand it! Not to mention they're often loaded with unnecessary ingredients or preservatives. And cost more than they should. Making my own vegetable broth is super easy and I use onion, carrot, and celery straight from my garden as the trinity of flavors. This trinity is referred to as "Mirepoix" in French cooking; the aromatic blend created when combining these three vegetables.
I prefer to make bulk batches of beans and vegetable stock all at once. With the equipment and ingredients already at hand, I figure it's wise to just make it all in the same session rather than bit by bit. This is a bulk recipe for large stock pots. You can use multiple pots to accommodate the recipe or cut in half if needed. The skin of the onion and garlic are left on as they contain many minerals and nutrients beneficial to human health. They also serve as a coloring agent. INGREDIENTS 10 gallon stock pot filled 3/4 of the way full with water (roughly 7.5 gallons) 2 onions, quartered, skin on (may also use 2 cups chopped shallots or leeks) 1 bunch celery leaves, coarsely chopped 4-5 carrots, washed and halved 6 cloves of garlic, pressed, paper on salt and pepper DIRECTIONS Combine the water and remaining ingredients into the stock pot. Season with salt and pepper generously. Bring to a boil and then reduce to a simmer. Allow to simmer for 30 minutes. While cooking, and once the vegetables are softened, occasionally mash the contents of the pot with a potato masher. This releases more flavor from the vegetables into the stock. While broth is simmering, sterilize and warm pint-sized canning jars. This recipe yields roughly 25 pints of stock. This may be a good time to prep your pressure canner according to canner directions. Once the stock has finished simmering, remove from heat and ladle spoonfuls of stock through a mesh sieve or strainer into the canning jars. Leave 1/2" of headspace in each jar. Wipe the rim of every jar before adding new lids and bands. The bands should be finger tight. Place the jars of stock into the pressure canner. The processing time is 20 minutes at 10 pounds of pressure. Adjust to accommodate your altitude according to canner instructions. Because my canner only fits 16 pints at a time, I pressure canned my 25 jars in separate batches. Once the pressure canning process is completed, jars should be allowed to cool and set on a towel-lined countertop for 24 hours. Ensure all jars are well sealed before storing in a cool, dry location. This stock should be consumed within one year. Yields: Roughly 25 pints of stock This is a pressure canning recipe, not to be substituted with water canning or processing. The very first thing I learned to can was homemade apple sauce. But I had my sights set on making all of our tomato products from homegrown tomatoes. I just needed to get more comfortable with a water bath canner first and get my fear of botulism out of the way. After canning more apples that I could count that fall, I started loads of tomato plants from seed the following spring. That summer I canned tomato sauce for the first time and haven't looked back since. The fear of food poisoning by way of poorly processed tomato sauce is real. But with the right acidity by way of BOTTLED lemon juice (fresh lemon juice is too variable), a safe acidity for canning is achieved. Combine that with cooking your stored sauce for 20-25 minutes after opening and using in recipes, and you'll be sure to kill any little botulism spores that may be lingering in your tomato product. Obviously, any cans of sauce that may become unsealed, appear bubbly on the shelf, or that smell like feet upon opening should be discarded ASAP. This tutorial shows I make my sauce EVERY SINGLE TIME. You can use as many tomatoes as you like. Two 9x13" casserole dishes of cut and prepped tomatoes usually makes about 8 pints of sauce. Be sure to adjust processing times if required based on your altitude.
Oh. My. God. These cherries are one of those new favorite foods of mine, where I think, “Where have these been all my life?” I enjoy the homemade so much more than store bought. Luxardo Cherries are traditionally dark cherries soaked in Luxardo Liqueur used to garnish cocktails like a maraschino. You can use any cherry you choose (I use red Queen Ann cherries from my trees). Note that the syrup in this recipe is not as thick as there’s no fake corn syrup added here. The taste is a perfect blend of all my favorite Sicilian flavors; anise, cinnamon, and citrus. And of course, cherries. Ingredients 1 pound cherries, destemmed (pitting optional) 1 cup water 1 cup sugar 5 black peppercorns 1 star anise 1 cinnamon stick 1 lemon (peels only) 1 cup Luxardo liqueur Directions Wash and destem the cherries. Pitting is optional though I personally leave them in, otherwise they get eaten too quickly (ask me how I know that). :) Bring the water and sugar to a simmer in a large saucepot, stirring to dissolve. Add the peppercorns, anise, cinnamon, and lemon peels. Allow to gently simmer for about five minutes. Remove the syrup from the heat and add in the Luxardo liqueur. Stir to combine and then add the cherries. Make sure the cherries are evenly coated. Allow to soak in the syrup as they cool. WATER BATH CANNING
The cherries can be hotpacked into pint-sized mason jars. Simply fill the jars with the hot cherries leaving 1/2” headspace. Add the syrup in each jar to coat the cherries up to 1/4” headspace and can for 15 minutes. Store the processed jars in a cool dry area until using. Refrigerate after opening. REFRIGERATE If not canning, simply pack the cherries and syrup in a mason jar and store in the refrigerator. Discard after one month if not eaten.
Beans are a low acid food. Therefore, they require pressure canning and not water bath canning. Low acid foods like beans must be heated to an extremely high temperature that is not possible to reach in a water bath method. This high temperature is what makes the beans shelf stable.
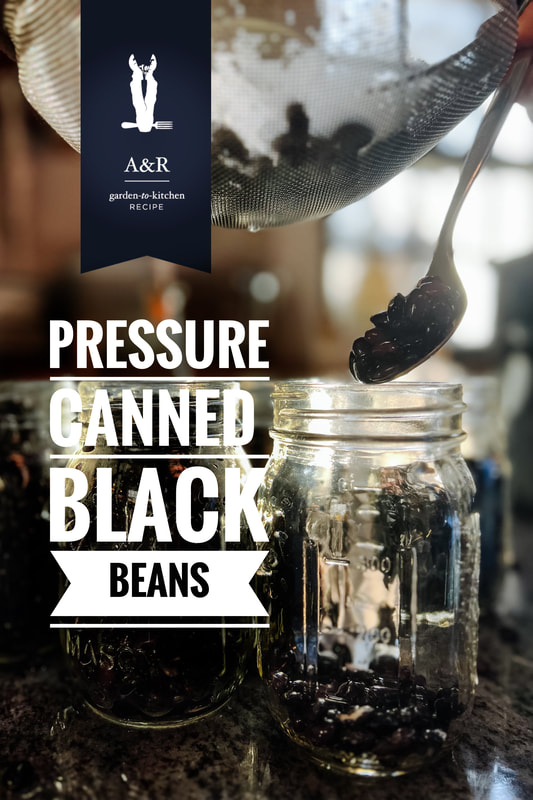
Homegrown (or store bought) black beans are easy to make, and very high in nutrients. For reference I can 32 pint jars from 5 pounds of dry black beans.
Directions Soak black beans in a large pot or bowl of water so that they are submerged by at least 1 inch. Soak for 12 to 24 hours before you intend to can. I use the cold pack method, which means after the beans have finished soaking, I drain them, rinse them and then spoon them directly into clean and sterilized mason jars. I leave 1/2 inch headspace and then pour non-chlorinated water over the beans so that they are submerged within the mason jars. Leave 1/4 inch head space. Carefully wipe clean the rims of the jars and add a new lid and affix with a ring. Screw to finger tight. I do not add salt to the beans. Load the pressure canner with the jarred beans according to your pressure canner guidelines. In addition to the water at the bottom of the pressure canner pot, I add 1 tablespoon of distilled white vinegar to keep the outsides of the jars from calcifying. Close the pressure canner, turn on the burner, and bring to a boil so that the pressure begins to rise. Close the steam valve according to your pressure canner guidelines and process the jars at 10 pounds of pressure for 75 minutes. After 75 minutes turn off the burner. Once the steam is no longer rising from the steam valve remove the 10 pounds of pressure setting to allow steam valve to fully open and for remaining steam to fully escape. Once there is no more steam escaping from the fully opened steam valve, remove the lid while standing back and using oven mits. Caution—steam is extremely hot. Allow jars to cool within the pot. Carefully remove the jars once cooled, one at a time, and place on top of a dish towel on the counter. Check that all of the lids are properly sealed by placing one finger in the center of the lid of each jar and then pressing down. If it fluctuates, then the jar was not properly sealed and can be re-processed. If the jar lid does not fluctuate, a proper seal has been made, and they may be stored out of sunlight, in a dark and cool location, such as a pantry or a cupboard. |
So what do you do with all that food you grow? This blog has some ideas.
Categories
All
shopThis website uses marketing and tracking technologies. Opting out of this will opt you out of all cookies, except for those needed to run the website. Note that some products may not work as well without tracking cookies. Opt Out of Cookies |